Sage details this well in their Order Entry Customization Tutorial (Section 4.3) in the SDK.
There are 2 ways:
- Unbind the existing handler from the event, and bind the event to your own custom handler. You can then call the original handler from your own custom handler.
- Interception Ajax calls using the ajaxSuccess and ajaxComplete functions.
Which one you decide to use, depends on your scenario and desired behaviour. For example, intercepting ajax calls may not be the way to go, if you need to do some custom processing before letting the existing event continue. Due to javascript’s asynchronous nature, you’d need to use the unbinding/binding method.
Sage has great examples of this in their SDK. We’ll show you another rudimentary example here:
In this example, we are working with OE Order Entry. We want to do some custom logic before letting a user post an order. Before allowing a post, we want to ask the server (our own custom controller) if it is ok to post the order. It will return a value isApproved, which will indicate if we should post the order or not.
Upon the page being loaded, we first save the original Post button’s handler, so we can use it later. Then, we unbind the Post button’s event, and replace it with our own:
var customPostHandler = null;
    // Post button event intercept
    if ($('#btnPost')[0] == undefined) return;

    var postHandlers = $('#btnPost').data('events').click;
    if (postHandlers && postHandlers.length > 0) {
        customPostHandler = postHandlers[0].handler;
    }
Next, we unbind the Post button’s click handler, and replace it with our own:
// unbind the original
$('#btnPost').unbind('click');
// bind the modified one
$('#btnPost').click(function () {
//check with controller to see if this user is allowed
var url = sg.utls.url.buildUrl("CU", "HutilityCustomization", "CheckCustomerApproverPost");
var approverUserId = $('#txtApproverUserId').val();
var approverPw = $('#txtApproverPw').val();
var customerNumber = orderEntryUI.finderData.CustomerNumber;
if (approverUserId && approverPw) {
sg.utls.showKendoConfirmationDialog(
function () {
sg.utls.ajaxPost(url, { user: approverUserId, pw: approverPw, customerNumber: customerNumber}, HutilityOrderEntryCustomizationUICallback.jbtest);
},
null, "Approve order with user [" + approverUserId + "].", "Demo");
}
else {
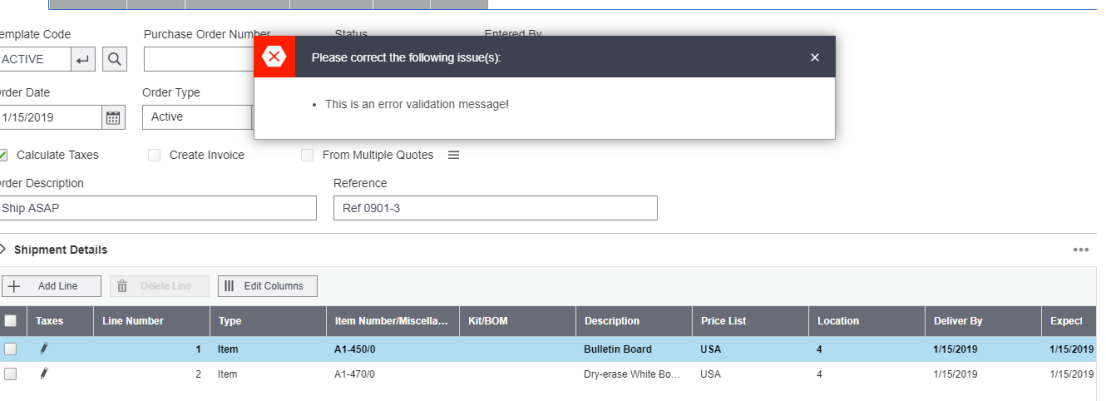
sg.utls.showValidationMessage("Please enter the credit approver credentials");
}
});
}
Next, we’ll initialize a callback function (HutilityOrderEntryCustomizationUICallback.jbtest) which will handle the data returned from our custom controller. If the response has isApproved as true, we allow the posting to continue by calling customPostHandler():
var HutilityOrderEntryCustomizationUICallback = {

    jbtest: function (data) {
        console.log(data);
        if (data.Data != undefined) {
            if (data.Data.isApproved == false) {
                sg.utls.showValidationMessage("Could not post order: " + data.Data.message);
            }
            else {
                customPostHandler();
            }
        }
        else {
            console.log("returned data is undefined");
        }
    },

};